When it comes to makeup, eyeshadow blending is an art that can transform your entire look. Whether it is a subtle daytime look or a dramatic night look, nailing the art of smudge eyeshadow is the key. The only problem is when you have no clue where to get started. Let's follow this step-by-step guide on how to blend eyeshadow that brings out the color well in your eyes.
1. Start With a Clean Base
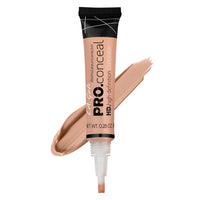
Before applying any eyeshadow, it’s essential to prepare your eyelids. Use an eyeshadow primer or concealer to create a smooth canvas. This step not only helps your shadow stay in place longer but also intensifies the colors. If your lids are oily, this prevents creasing and ensures even application.

2. Choose the Right Brushes
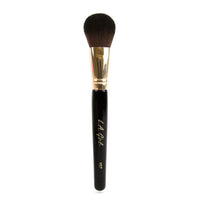
Having the right tools is half the battle. A fluffy blending brush is an absolute necessity for any eyeshadow blending. A smaller, denser brush is important for a variety of eye detail applications, including outlining and defining your crease.

3. Build Your Transition Shade
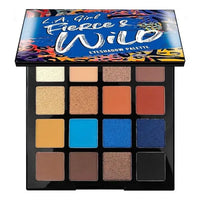
Transition shade: The medium-toned color that blends the eyeshadow well with the skin. In the crease, use a color even a shade or so darker than your skin tone, using a windshield-wiper motion to blend in. This will help the other shades blend without harsh lines. You can use shades from LA Girl like Pro Eyeshadow Palette.

4. Layer Your Shadows
Start with the lightest shade on the inner corners of your eyes. Work your way step by step towards the outer corner using dark shades. Remember to use a light hand, and once you have placed all the shades, use your blending brush to soften the edges where the shades meet. Remember, blending is about patience, keep going until the colors melt into each other.

5. Deepen the Outer Corners
For more depth and dimension, apply a darker color to the outer corners of your eyes. Use a small, dense brush to place the shadow precisely, then blend it out with your fluffy brush. Focus on blending in small, circular motions to avoid harsh lines.

6. Add a Pop of Color or Shimmer
Once you’ve blended your base shadows, add a pop of shimmer or a bright color to your eyelid's center for extra dimension. This look is fabulous to go from a day look to a night look. Use a flat brush or your fingers to apply gentle pressure on the shimmer to the lid and smudge the edges.

7. Don’t Forget the Lower Lash Line
To make your look cohesive, apply a bit of your transition shade to the lower lash line. Use a small blending brush for this step. For a more dramatic effect, add some of the darker shades to the outer lower lash line as well.

8. Blend, Blend, Blend
The key to a professional eyeshadow look is blending. After applying all of your colors, go back in and soften any harsh lines with a clean blending brush. You can even blend out a bit of translucent powder to tone down the colors if they're too intense.

9. Finishing Touches
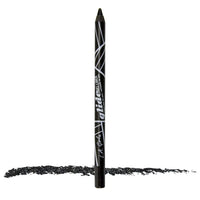
Add eyeliner and mascara to complete it all. The sharp winged liner will give definition, but mascara will still make the look of a blended eyeshadow complete, so your lashes look fuller and your eyes look bigger.

Final Thoughts
It takes practice and patience to master the art of blending eyeshadows. The right tools and techniques put you in the position of always achieving a smooth gradient each time. Whether you are a first-timer or simply looking to drive your makeup game to the next level, there's a step-by-step guide to help you achieve professional-grade blending almost overnight.
Get your makeup tips and tutorials by following our blog!
